Prep Time:
10 minutes
Fermentation Time:
12–18 hours
Second Rise:
1–2 hours
Cook Time:
40–45 minutes
Total Time:
14–21 hours
Yield:
1 artisan loaf
A Story of Simple Baking, Growing Confidence, and a Love for Nutty, Rustic Bread
There is something quietly magical about baking bread at home. It isn’t flashy magic—it’s soft, patient, and deeply comforting. It happens while the dough rests, while yeast slowly wakes up and begins its unseen work, while the warmth of the rising bread turns your kitchen into a place that feels alive. For most of my life, I admired bakers and their craft from afar, thinking bread-making required special tools, skills, or decades of practice. It felt like something reserved for people who “really knew what they were doing.”
But then I baked my first loaf.
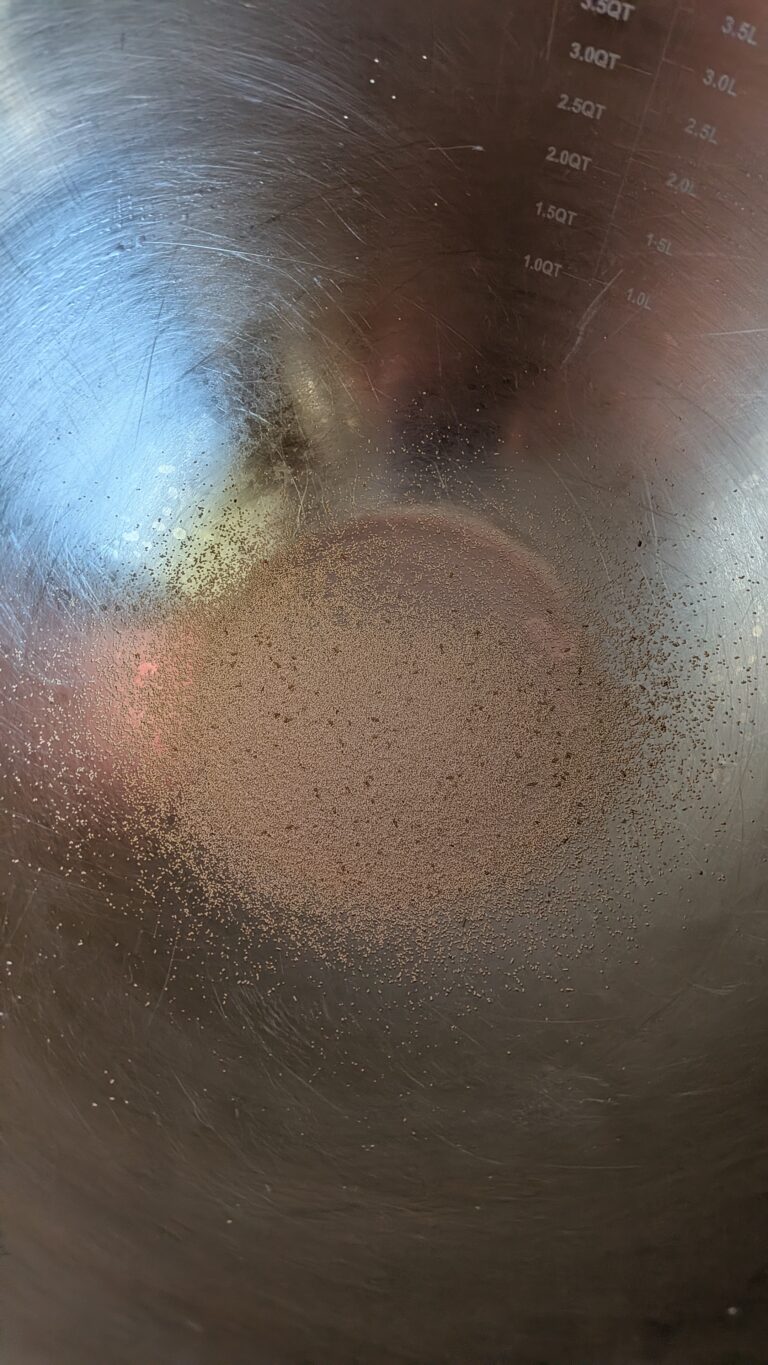
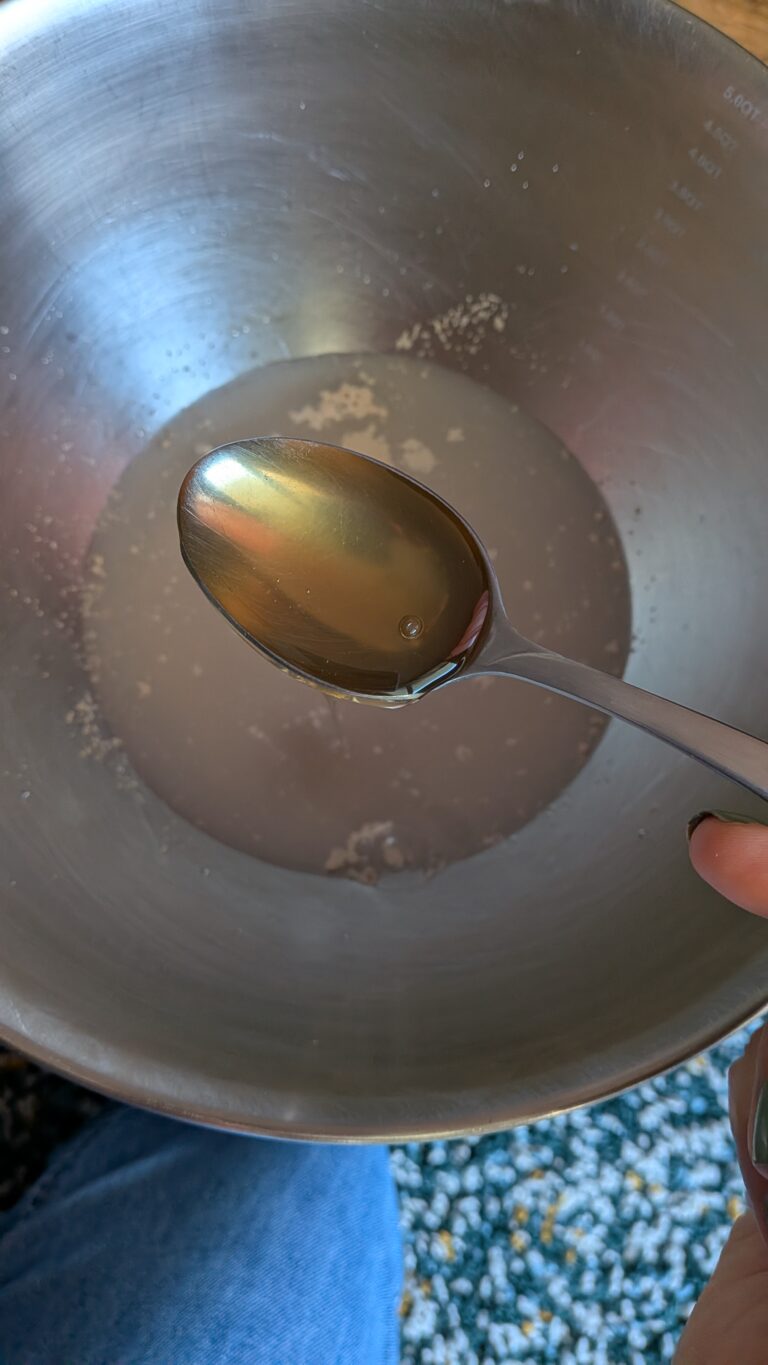
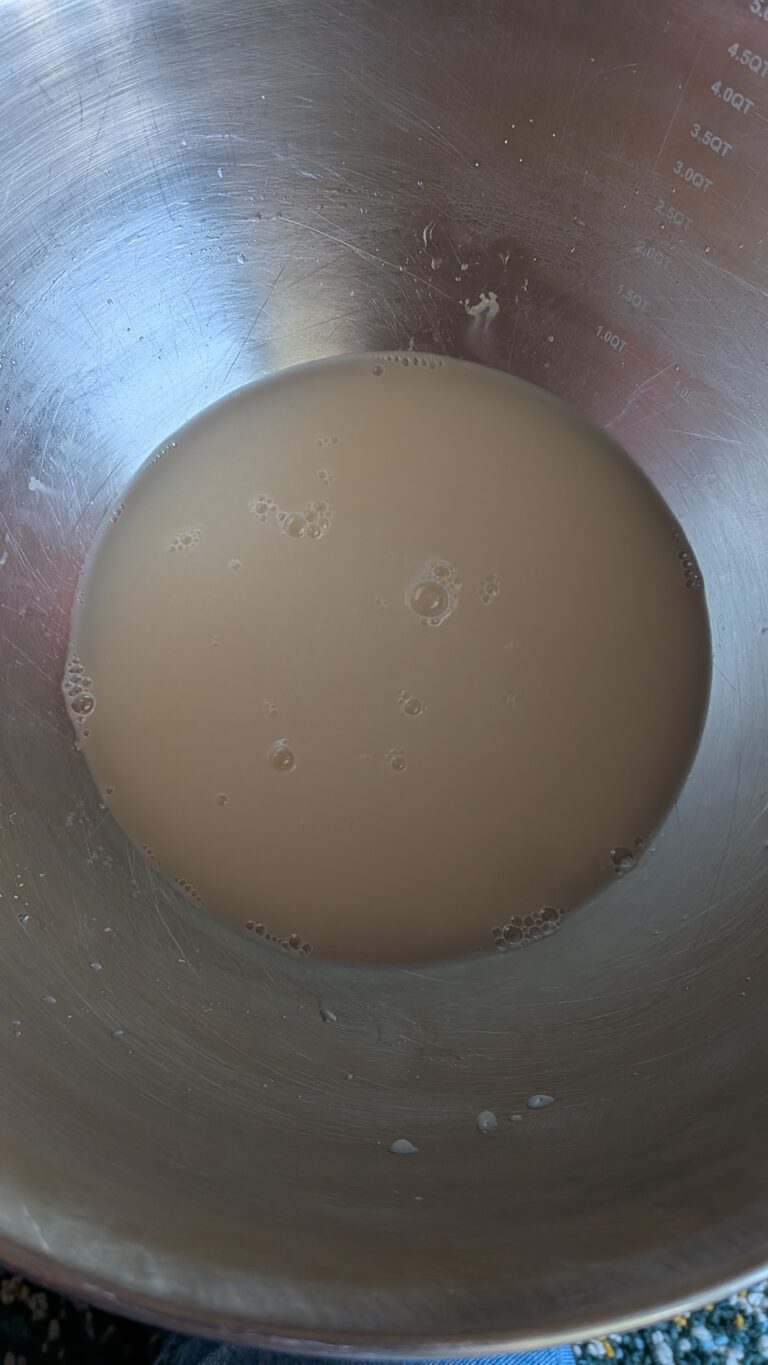
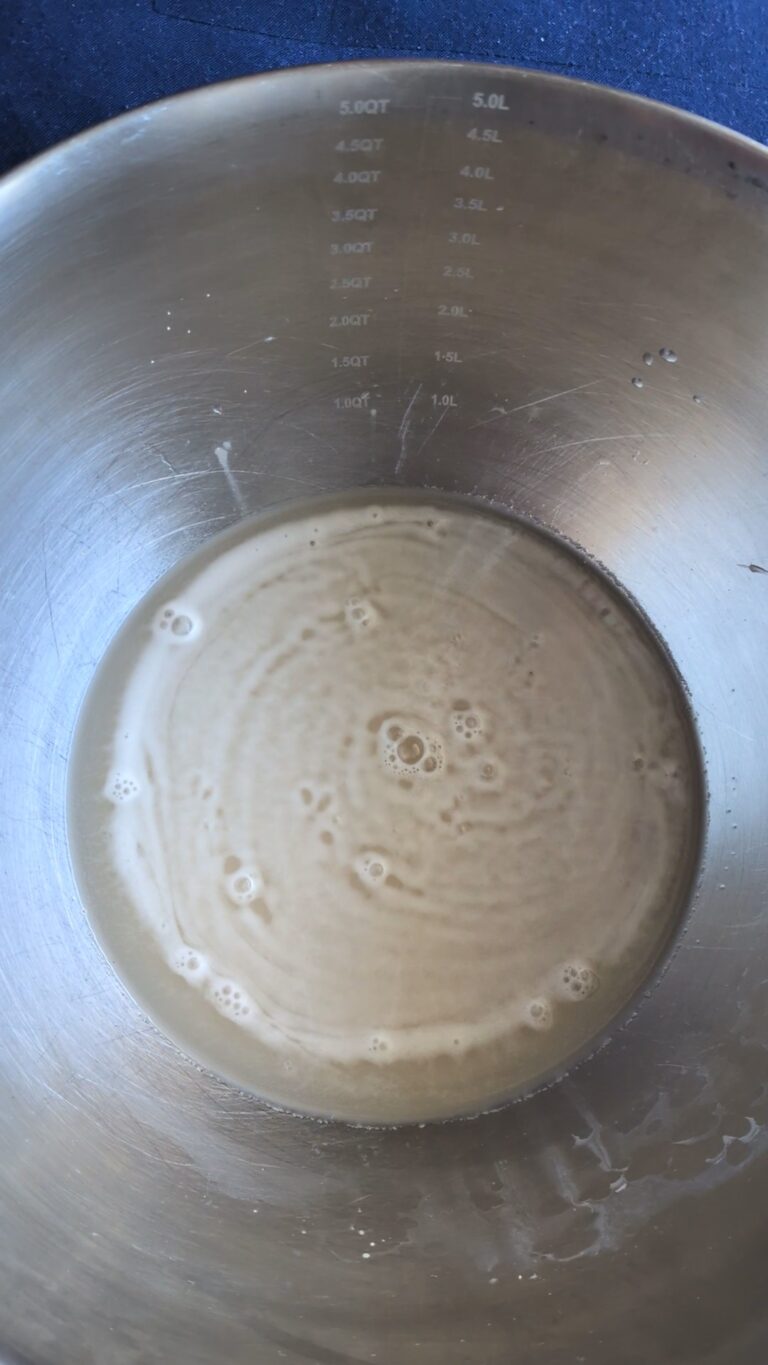
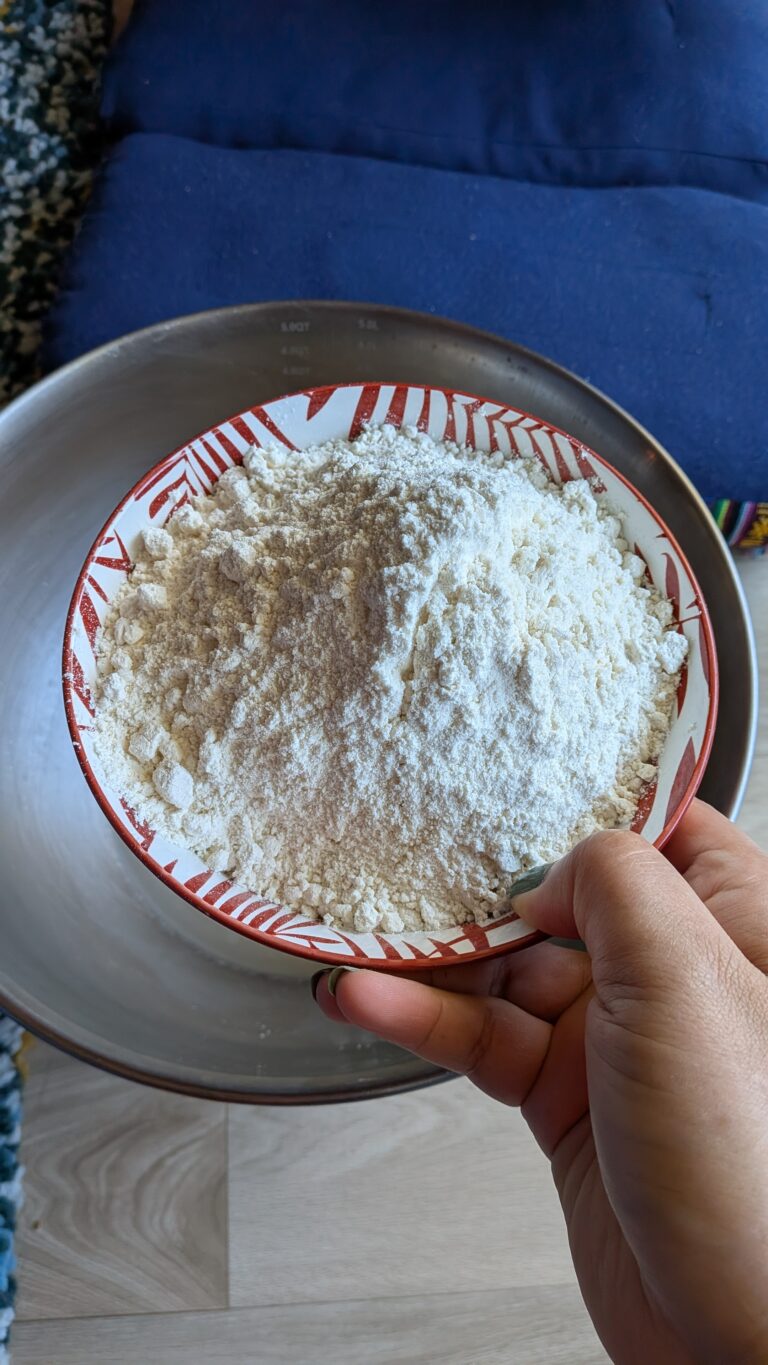
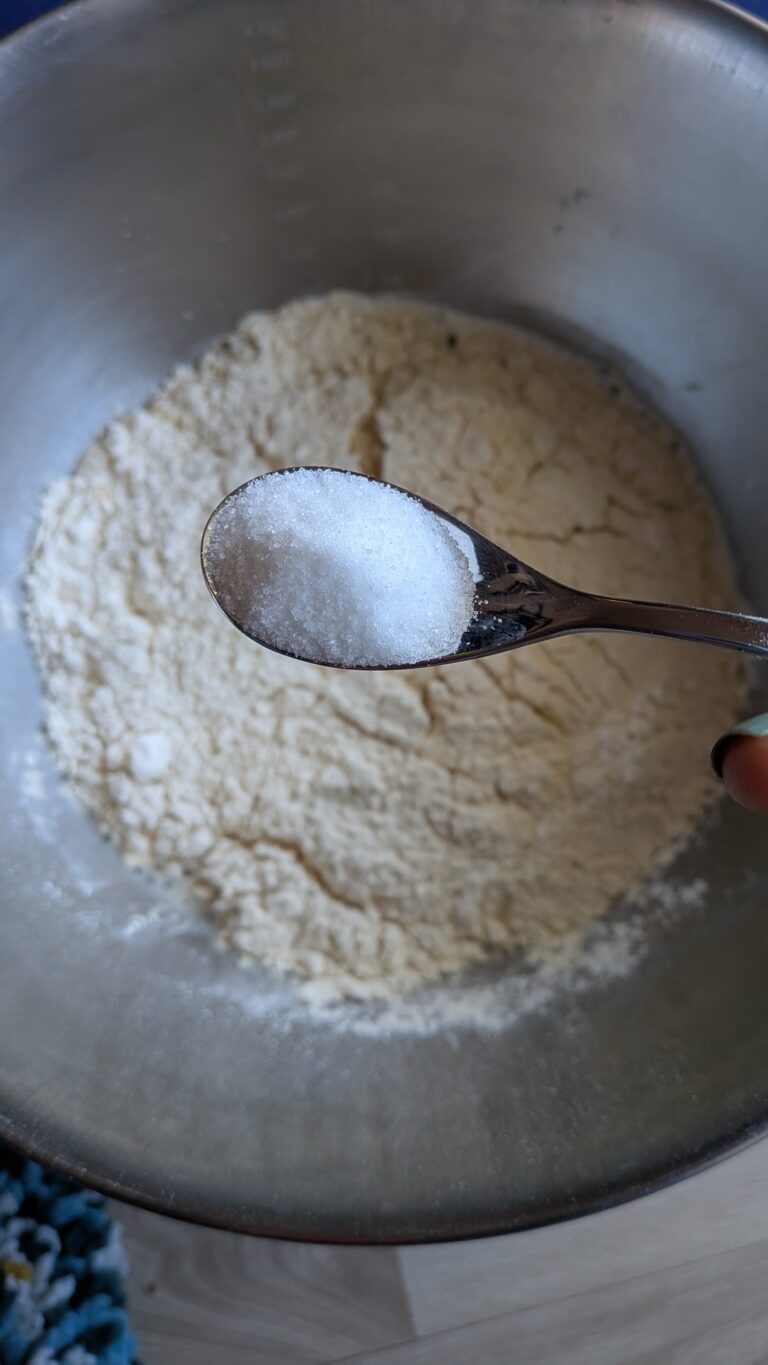
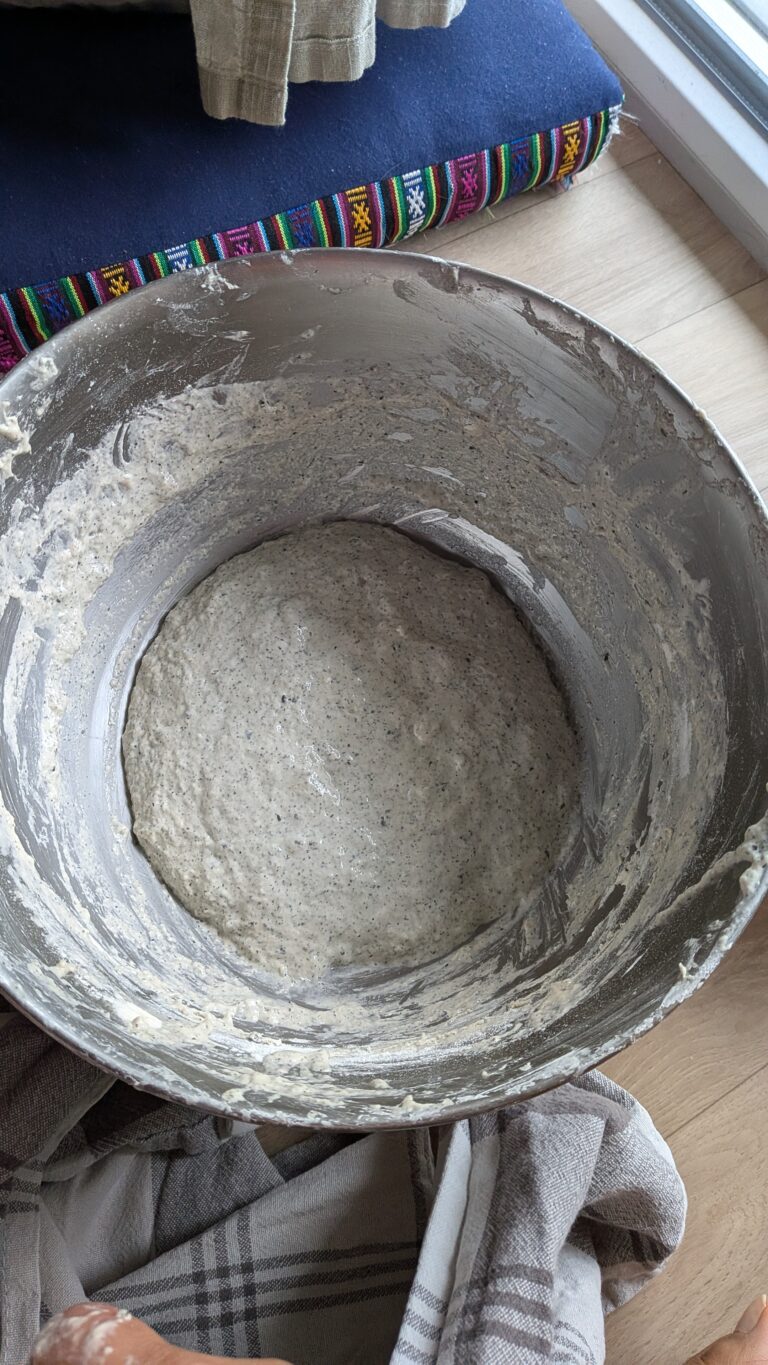
It was a no-knead artisan bread—simple, rustic, and surprisingly forgiving. Flour, water, yeast, salt. Four ingredients and time. When that first loaf came out of the oven, golden and crackling, something inside me shifted.
I fell in love with the process.
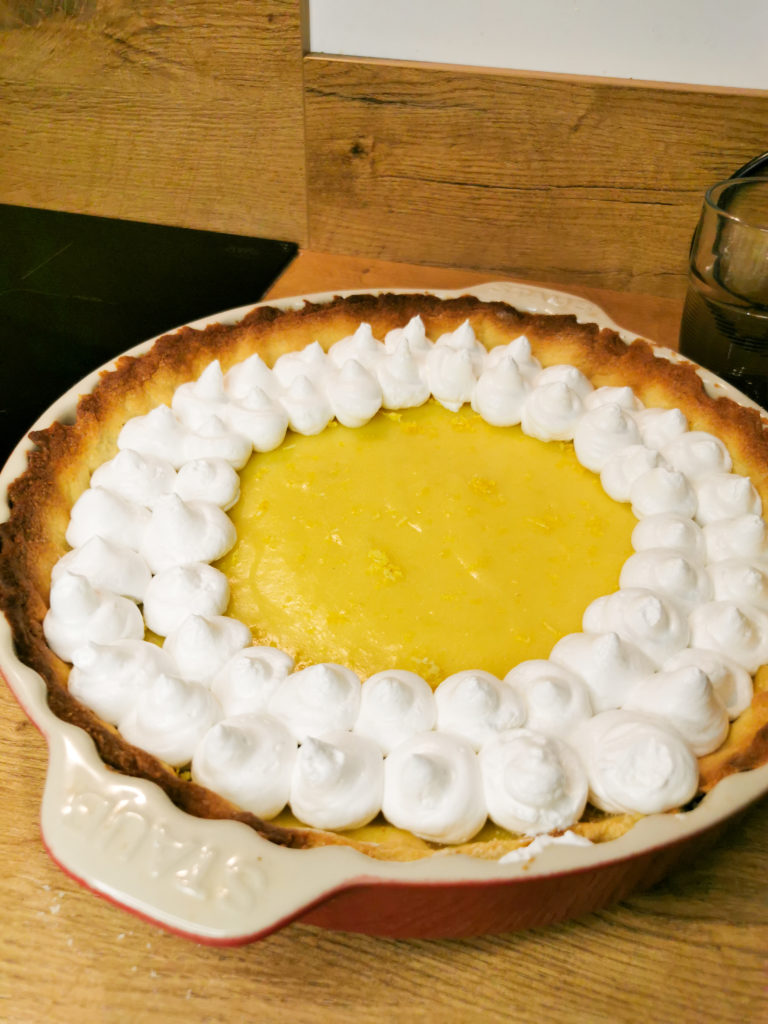
And then something else happened: my husband gifted me a Creuset pan.
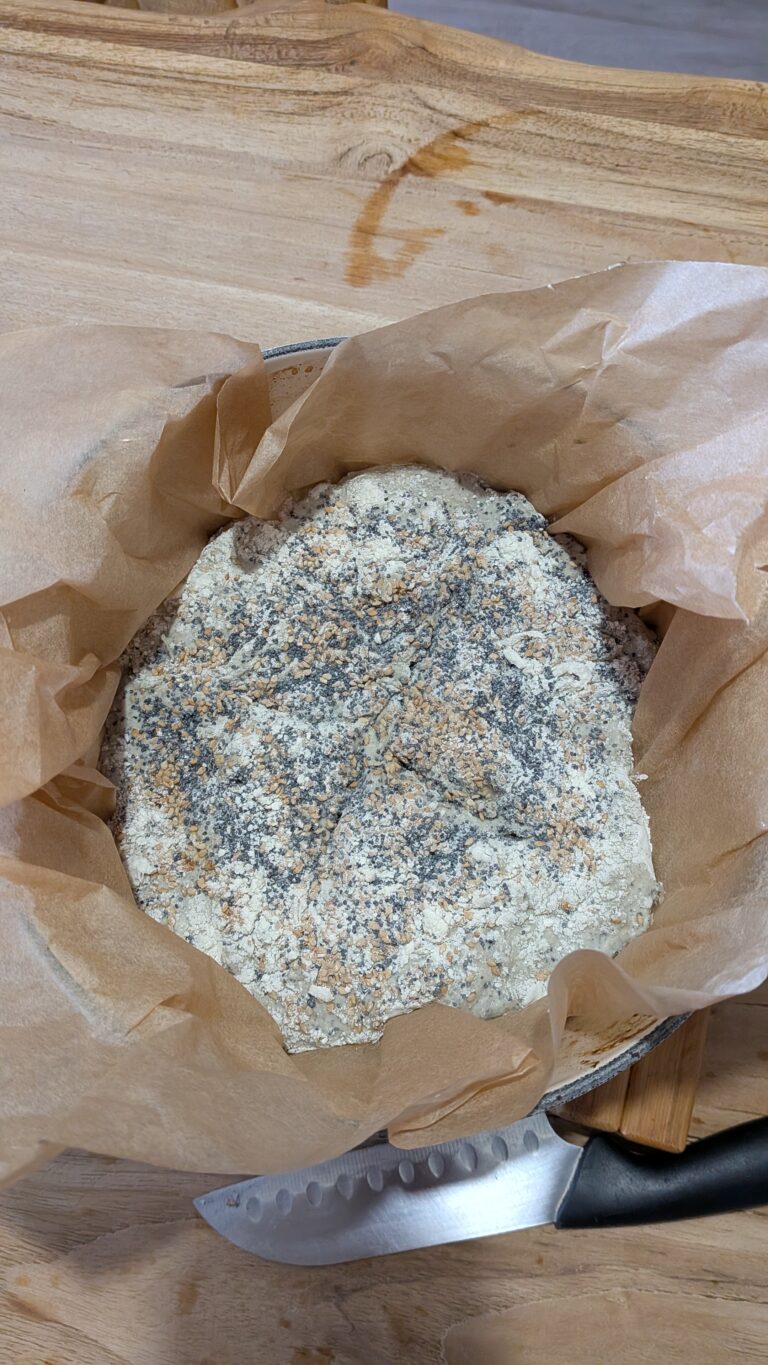
When I held it for the first time, most people might have imagined stews, casseroles, or cakes. But not me. The very first thought that came to mind was bread—a rustic loaf with a deep crust and an airy, open crumb. Somehow that pan felt like an invitation. A gentle encouragement to keep going, to explore this little creative spark that baking had awakened in me. That pan became more than a kitchen tool; it became the beginning of a new chapter, one loaf at a time.
Fast-forward to today: I’m baking again—my second bread within one week. To seasoned bakers, that might sound ordinary, but to me, it feels like a milestone. A sign that this isn’t just a passing interest; it’s becoming something meaningful, something I genuinely enjoy. I can see myself baking much more in the future.
This time, though, I wanted to create a loaf that felt like mine.
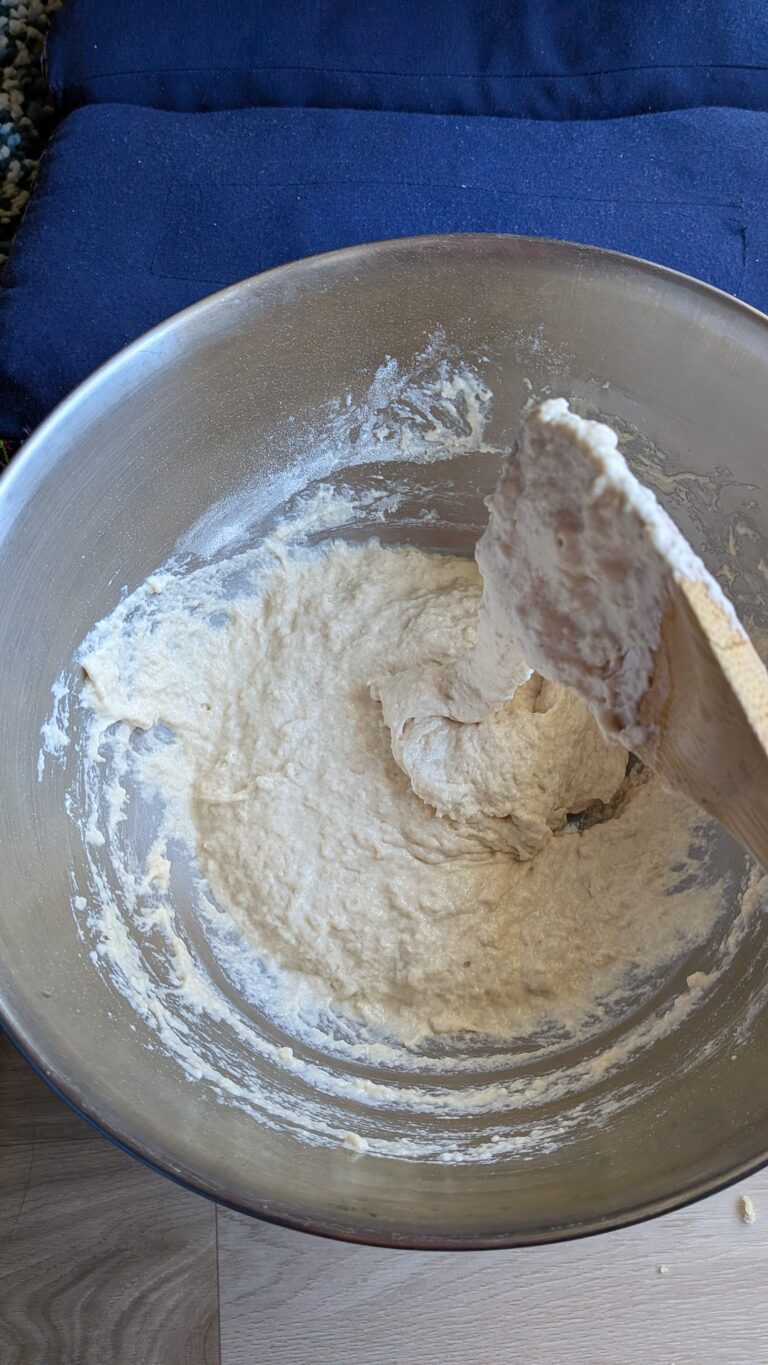
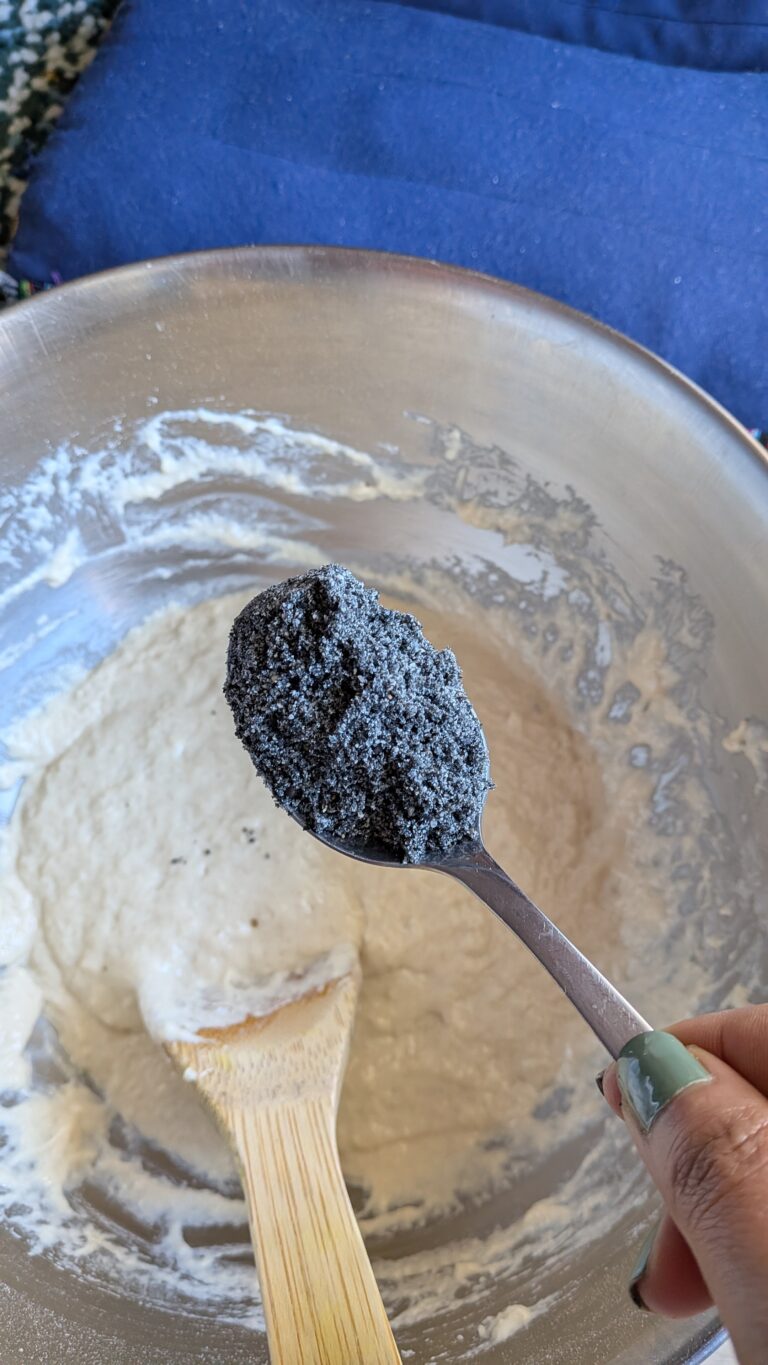
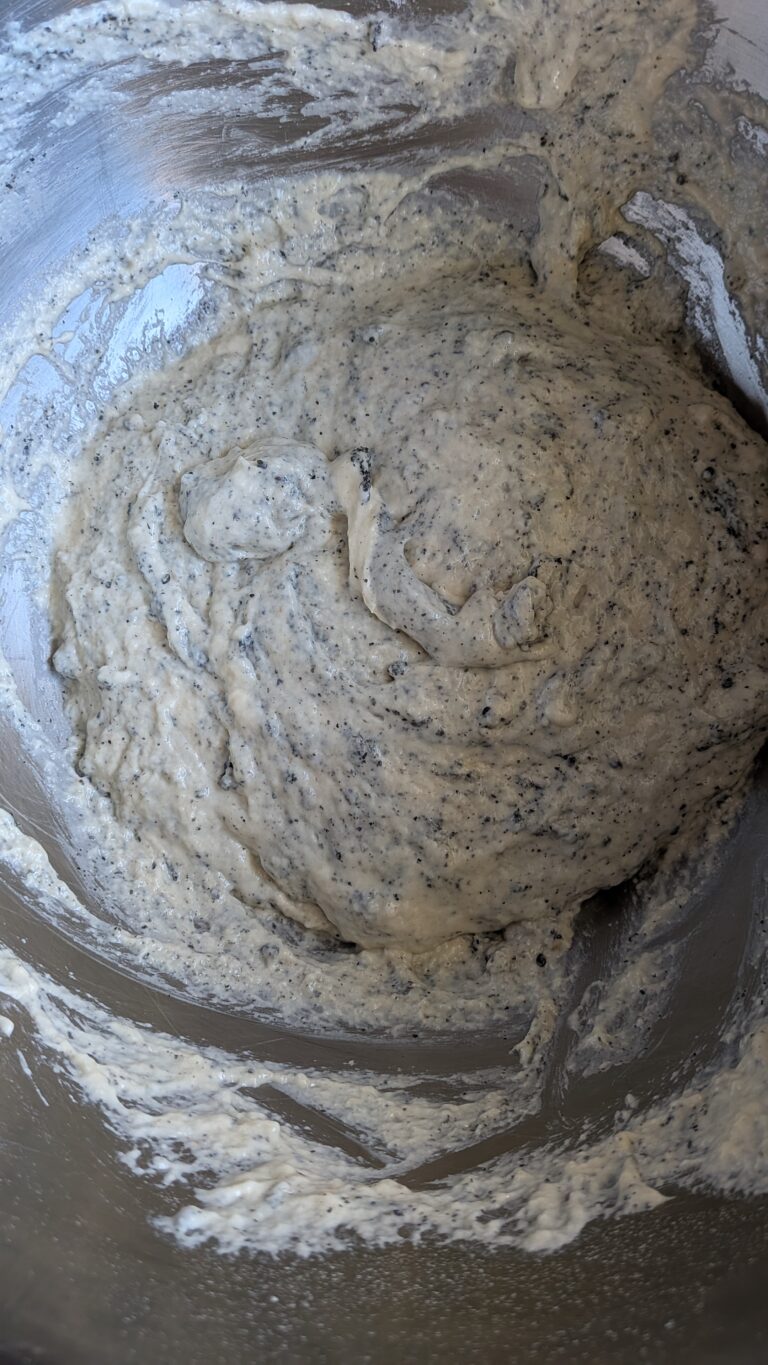
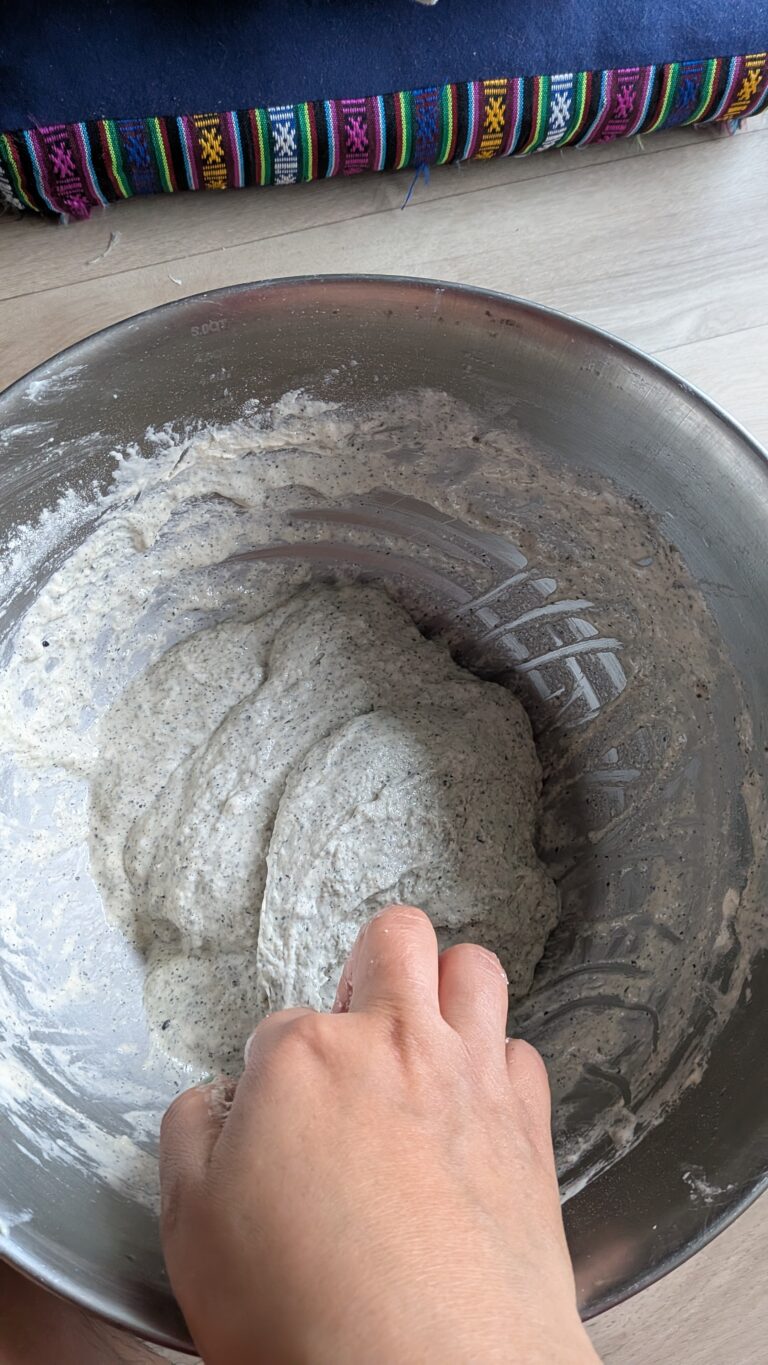
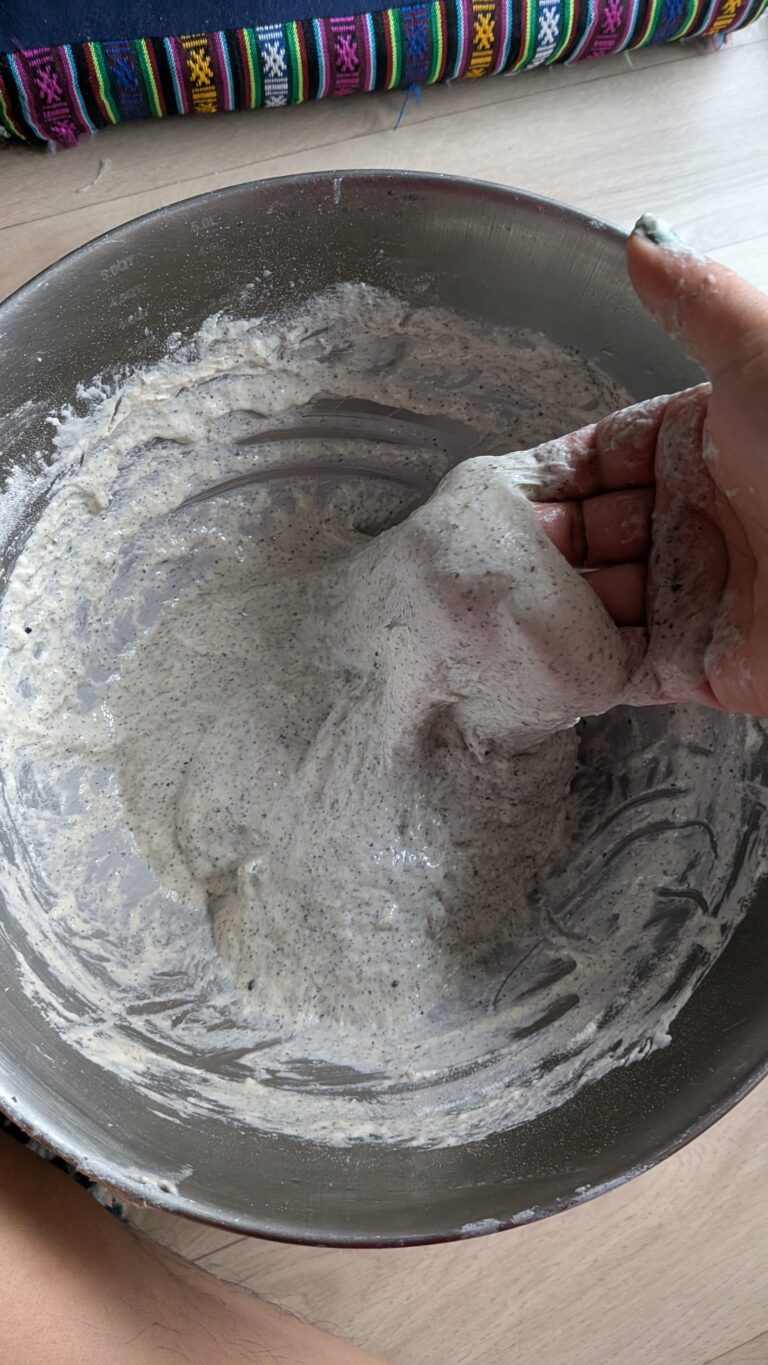
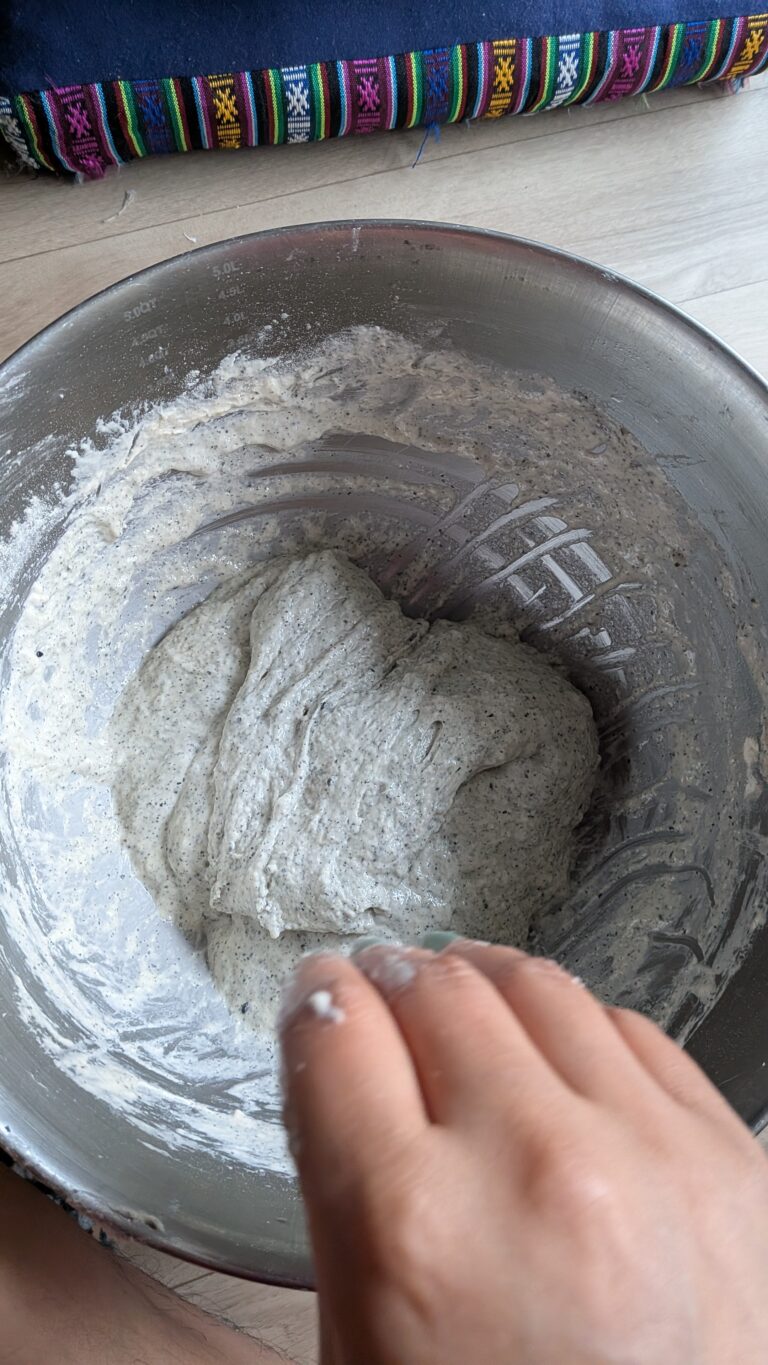
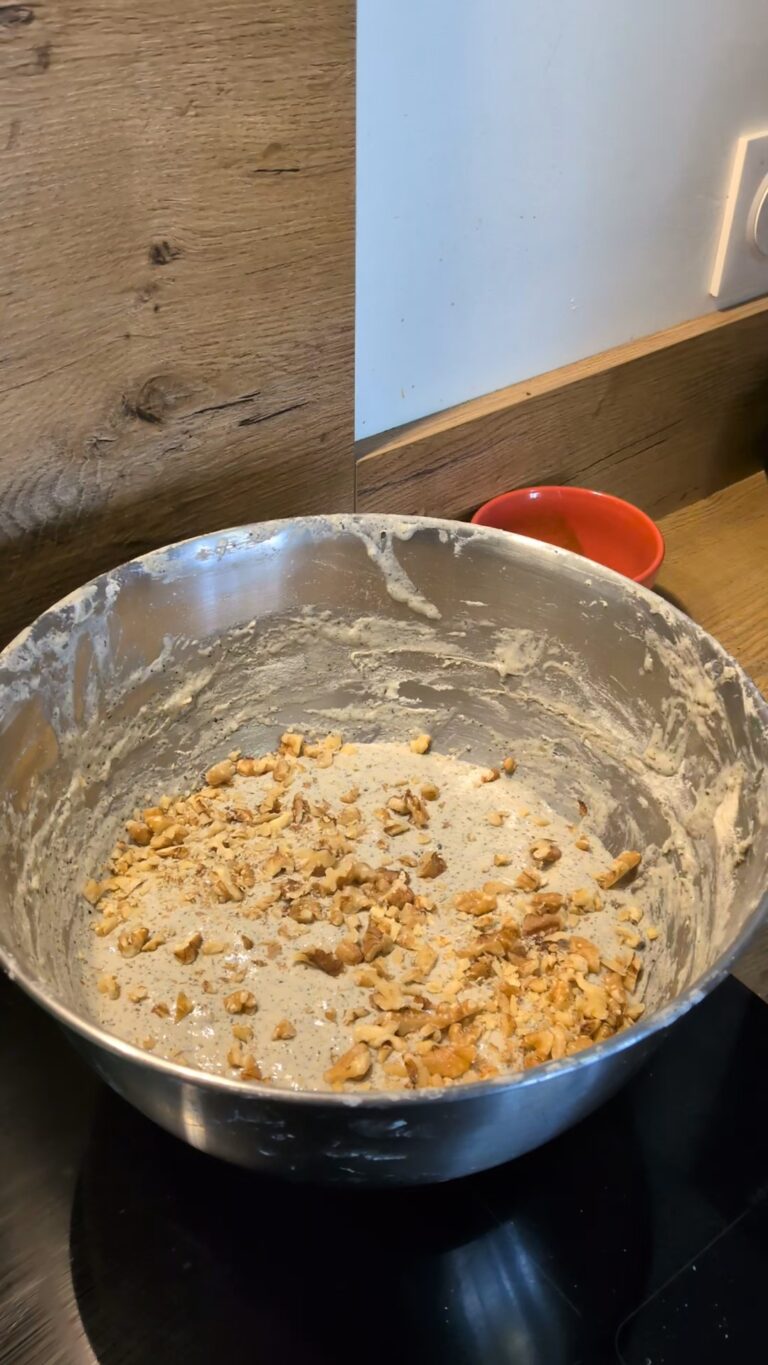
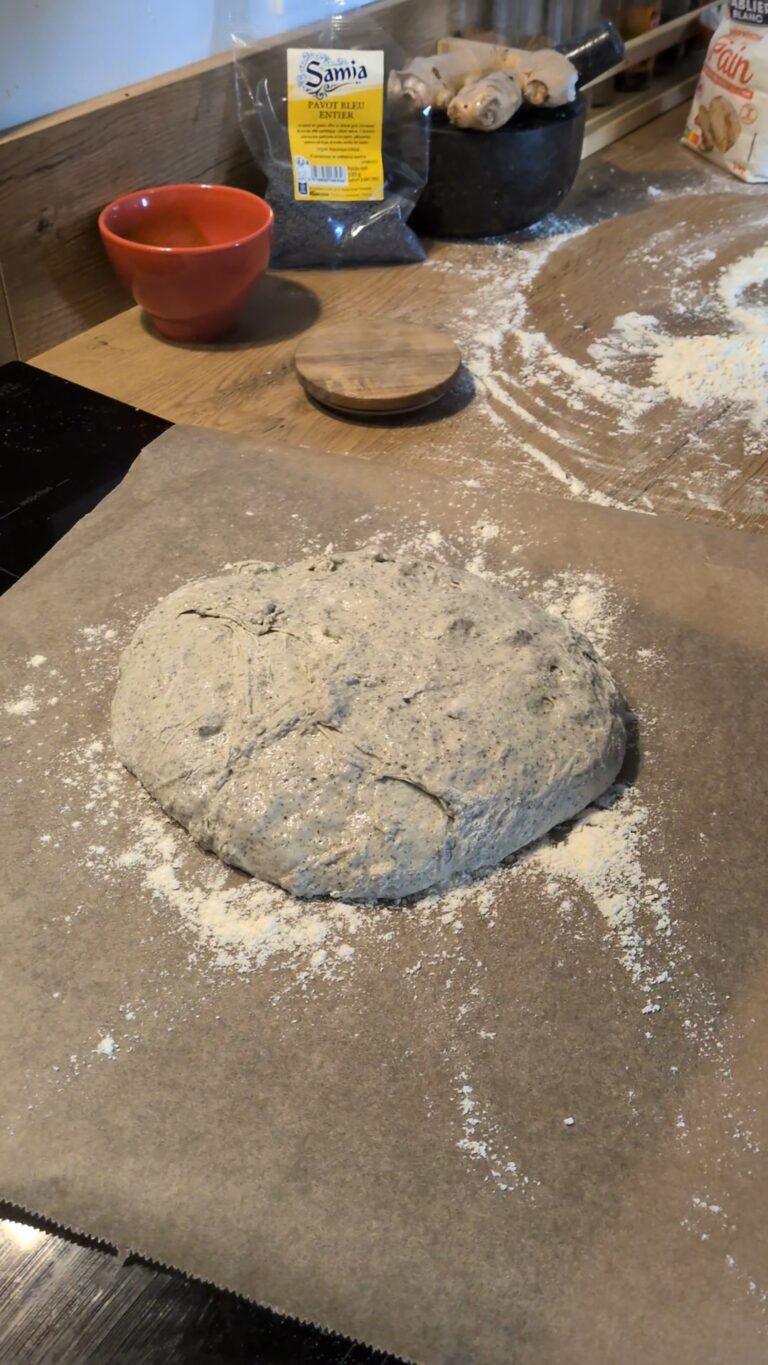
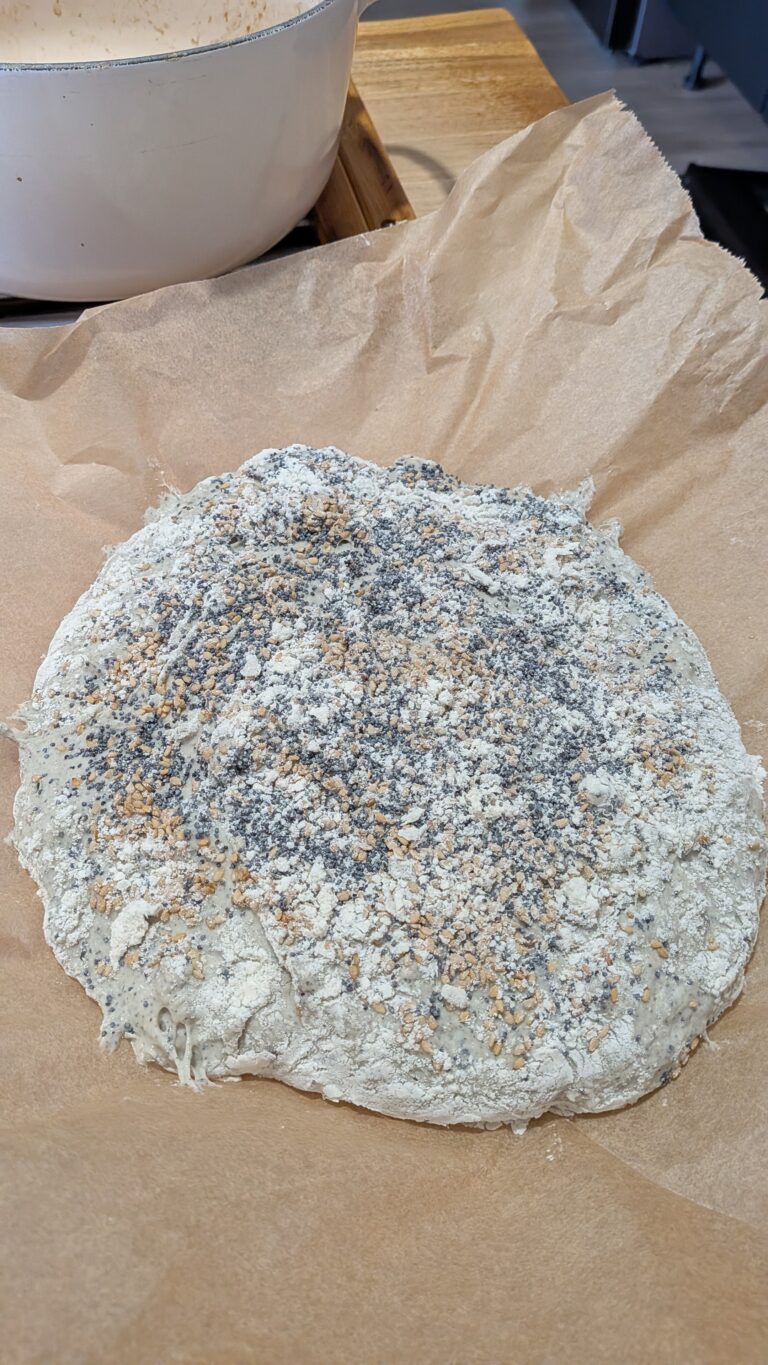
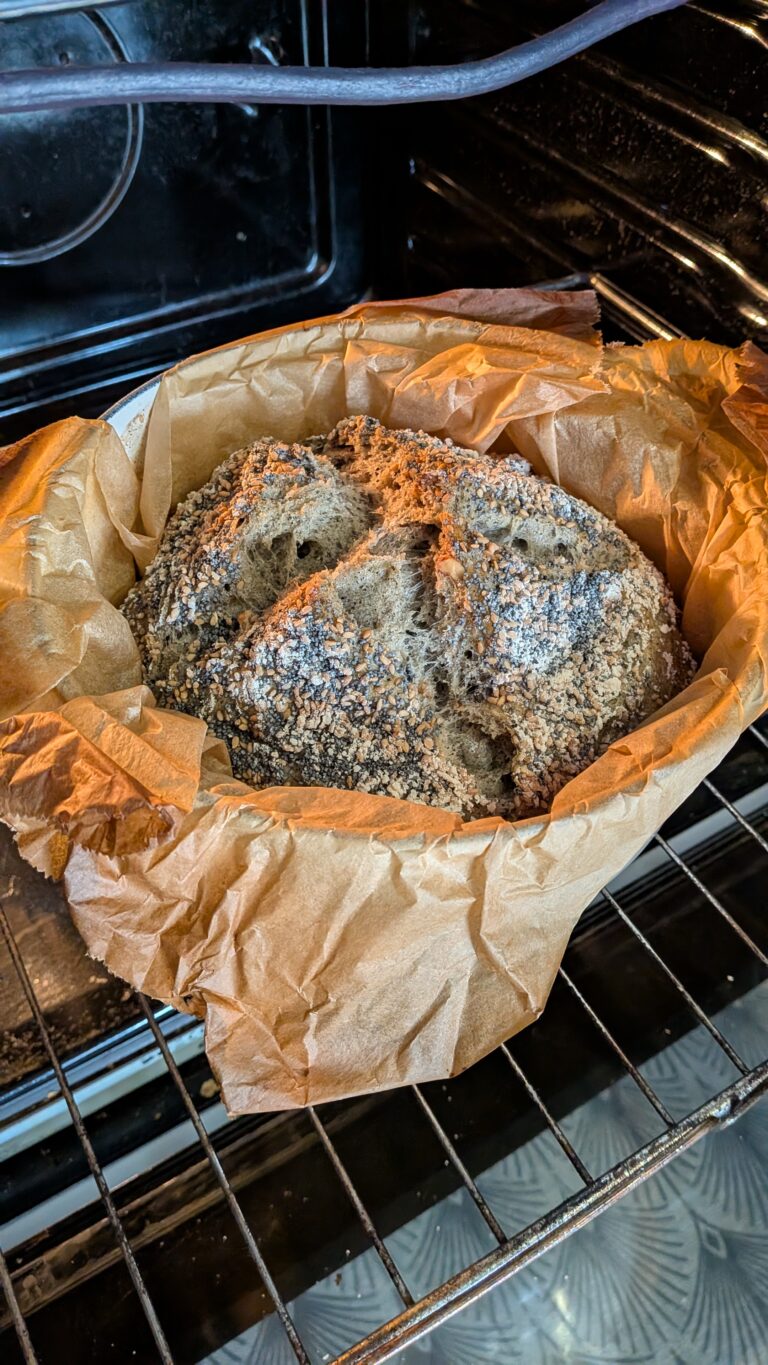
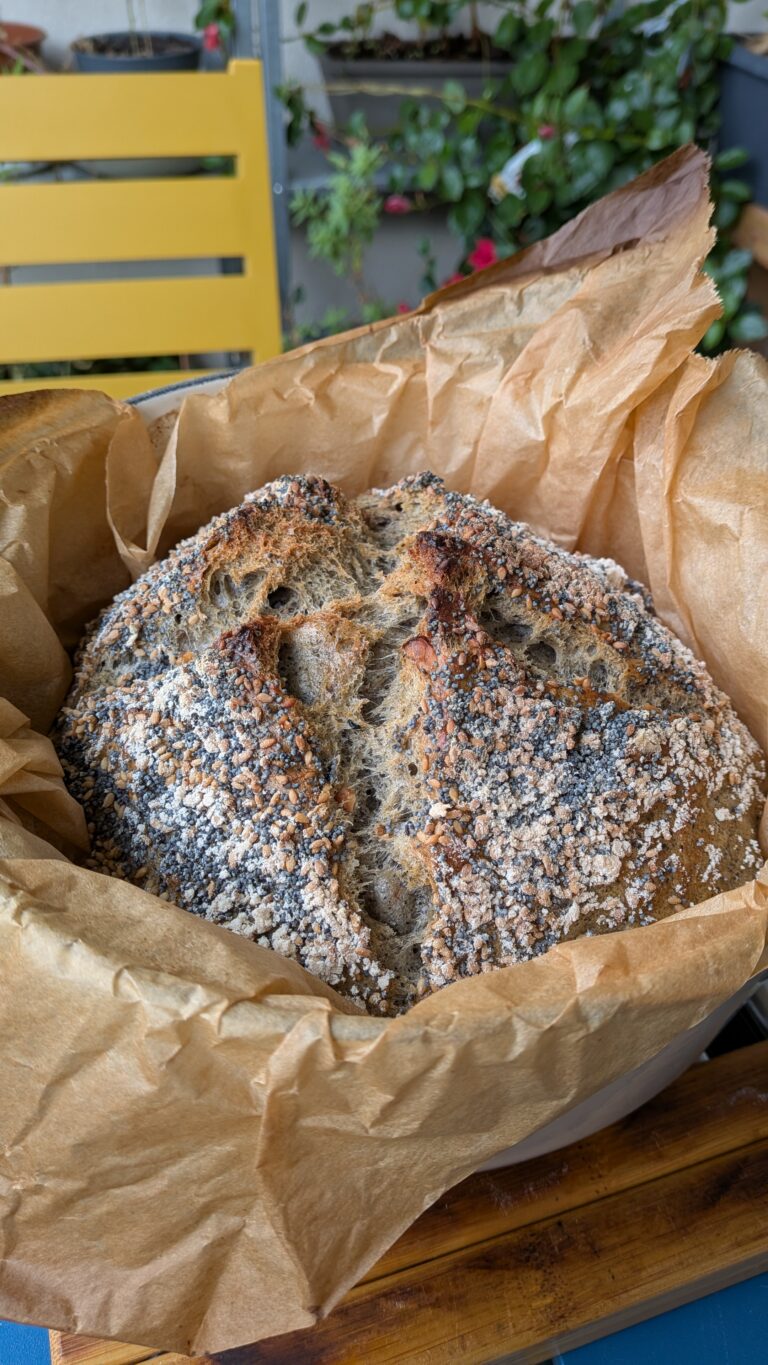
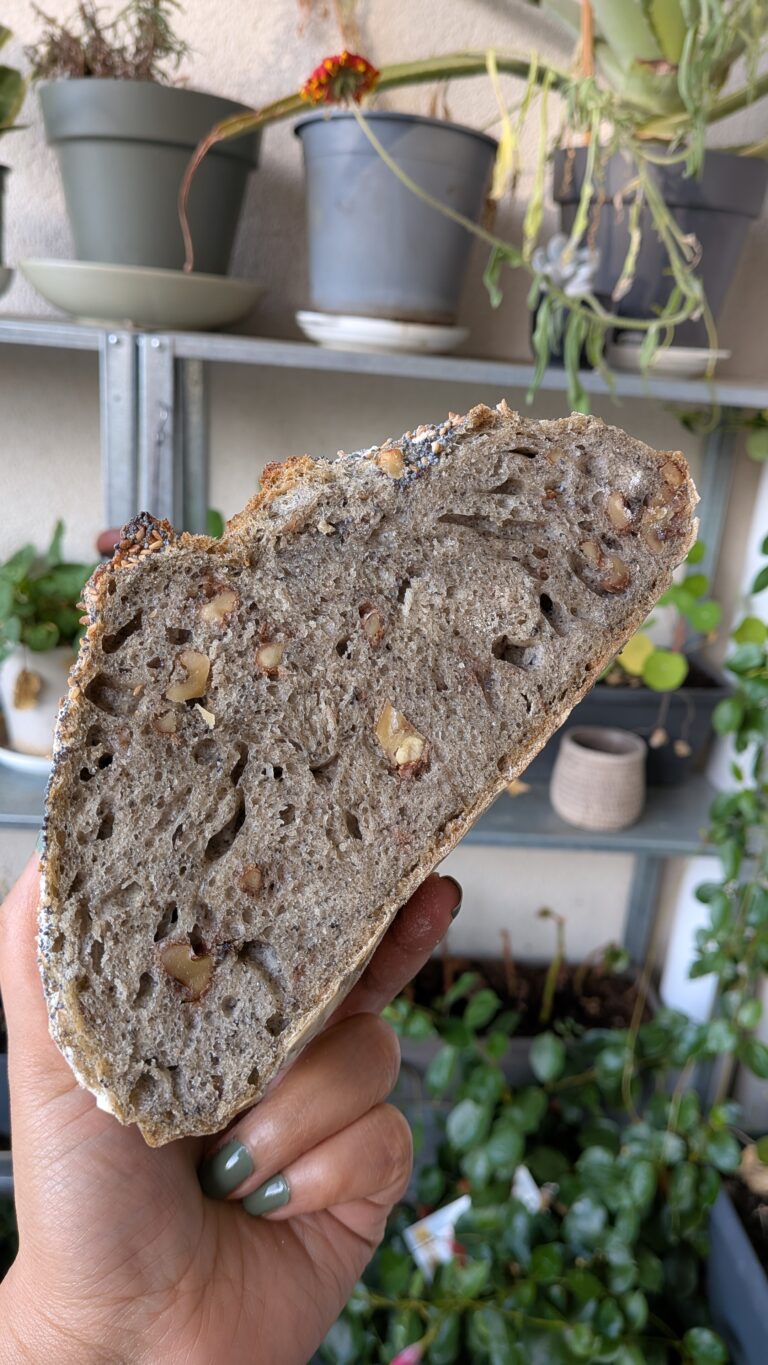
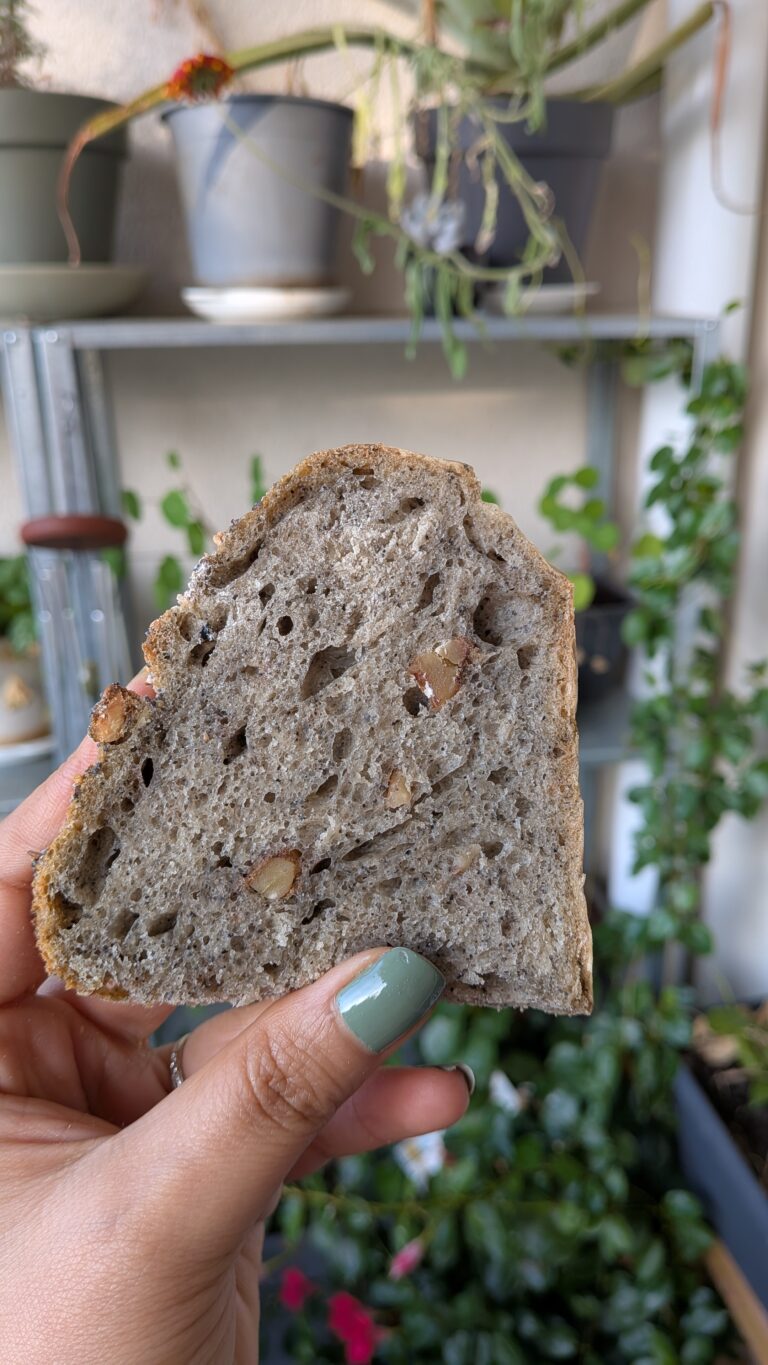
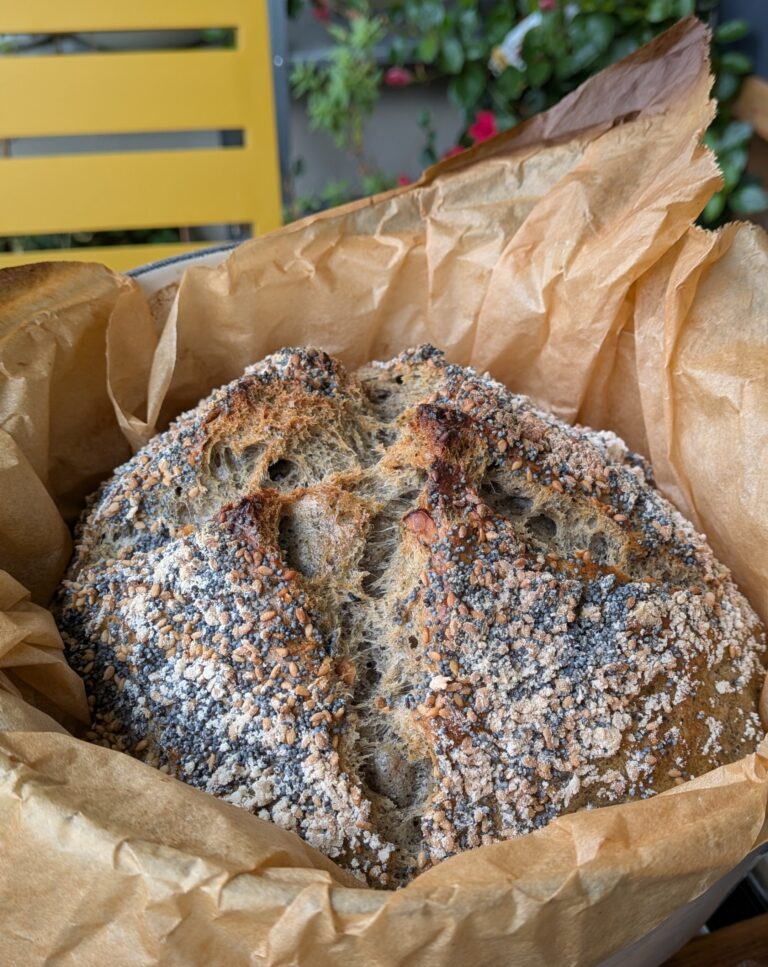
A bread that carried my favorite flavors—nutty, earthy, warm. So I added ground black sesame to the dough, which deepens the aroma and adds a soft, irresistible nuttiness. I folded in walnuts, because I love texture and crunch in bread. And before baking, I sprinkled the top with poppy seeds and roasted brown sesame seeds for that extra layer of fragrance and a toasty, crackling crust.
The result? A loaf with personality. A bread that feels handcrafted, meaningful, and connected to my own story as a beginner baker who’s falling in love with the rhythm of it all.
Ingredients
For the Dough
400 g all-purpose or bread flour
360 g warm water (25–30°C)
- 1 tablespoon honey or sugar
8 g salt
2 g instant or active dry yeast
10–20 g ground black sesame
40–60 g chopped walnuts (optional but recommended)
For the Topping
1 tbsp poppy seeds
1 tbsp roasted brown sesame seeds
Instructions
1. Activate the Yeast (5–10 minutes)
In a medium bowl, combine warm water, honey, yeast.
Stir gently. Let it sit for 5–10 minutes, until the surface becomes foamy and bubbly.
This step confirms your yeast is active and adds a soft sweetness to the bread.
2. Mix the Dough (5 minutes)
In a large bowl, whisk together:
Flour
Salt
Ground black sesame
Pour the yeast–honey mixture into the dry ingredients.
Stir with a spoon until a sticky, shaggy dough forms.
Fold in the walnuts if using.
The dough will be wet — that’s perfect for an airy artisan loaf.
Cover the bowl with plastic wrap or a towel.
3. Long Fermentation (12–18 hours)
Let the dough rest at room temperature.
It will slowly rise, becoming airy, bubbly, and doubled in size.
The sesame and honey will create a warm, slightly sweet aroma.
4. First Stretch & Fold
After the 12-hour rise:
With damp hands, stretch one side of the dough upward and fold it over the center.
Rotate the bowl and repeat 4–6 times.
Cover again.
5. Rest (30 minutes)
Let the dough relax for 30 minutes.
6. Second Stretch & Fold
Repeat the same folding process — 4–6 gentle folds around the dough.
Cover again.
7. Gentle Shaping (5 minutes)
I add the walnuts in this step.
Transfer the dough onto a lightly floured surface.
Shape it carefully into a round loaf, keeping as much air inside as possible.
Transfer to parchment paper.
8. Final Rest While Pan Heats (15 minutes)
Let the dough rest 15 minutes on the parchment.
During this time:
Place your Dutch oven or your pan of choice into the oven
Preheat to 230°C (450°F) for 30 minutes
The dough will slightly relax and puff during these 15 minutes.
9. Prepare for Baking
Sprinkle with:
Poppy seeds
Roasted brown sesame seeds
10. Bake
Carefully place the dough (with parchment) into the hot pan.
- Add few ice cubes in the baking pan, outside the parchment. This creates the steam to help the dough rise better.
- Create a cut on the dough with a knife. I just create a cross.
Bake 30 minutes covered
Bake 10–15 minutes uncovered, until deep golden and crispy
The honey will help caramelize and deepen the crust color.
11. Cool Completely (1 hour)
Let the loaf cool for at least 1 hour before slicing for the best airy crumb.
Variations I’ve Tried
Because this recipe has quickly become part of my weekly routine, I’ve already experimented with a few variations. Here are my favorites so far:
1. Roasted Sunflower Seeds
Adding ¼–⅓ cup roasted sunflower seeds gives an incredible toasted aroma. They blend seamlessly with the black sesame and create a multigrain-like texture.
2. Extra Nutty Blend
If you’re a nut lover, try adding walnuts and a handful of almonds or pecans. The nutty crunch in every bite is addictive.
3. Double Black Sesame
For a deeper, darker, more fragrant loaf, double the ground black sesame. The result is dramatic and richly flavored.
4. Sweetened Version
Add an extra tablespoon of honey for a lightly sweetened bread that tastes amazing with butter, jam, or Nutella.
5. Seeded Bottom
Sprinkle seeds on the bottom of the baking parchment or pan for a 360° seed-crusted loaf.
Final Thoughts
This bread has become something meaningful to me — not just because it tastes wonderful or fills the house with that irresistible nutty aroma, but because it has become a ritual. A comforting rhythm. A reminder that baking doesn’t need to be complicated to be fulfilling.
The fact that my husband gifted me the Crest pan that inspired this whole adventure makes it even more special. Every time I lift that heavy lid and reveal a beautifully risen loaf, it feels like a shared joy.
And as someone who has baked twice in a week — after thinking bread was “too advanced” — I can proudly say:
I’m going to be baking much more in the future.
Find my other recipes on my blog here!


